

Documentation Index
Fetch the complete documentation index at: https://docs.blockscout.com/llms.txt Use this file to discover all available pages before exploring further.
Verify contracts with the Hardhat plugin
Verify smart contracts on Blockscout from your Hardhat project using the hardhat-verify plugin, on either Hardhat 3 (native Blockscout support, Pro API key optional) or Hardhat 2 (per-instance API).Hardhat is a full-featured development environment for contract compilation, deployment and verification. The hardhat-verify plugin supports contract verification on Blockscout. The setup differs depending on which major version of Hardhat your project uses, since the plugin’s config format changed between Hardhat 2 and Hardhat 3.
Hardhat 3
Hardhat 3’s hardhat-verify plugin (v3.1.0+) has built-in Blockscout support. As of v3.1.0, it also supports anapiKey to use the Blockscout Pro API.
1) Install Hardhat and the plugin
2) Register the plugin
3) Configure Blockscout (if your instance needs an API key)
A key is required for any publicly hosted Blockscout chain. A private, self-hosted instance or Autoscout instance is a separate case and may not require one. Add your Pro API key underverify.blockscout:
We recommend using a configuration variable (as shown above) rather than hardcoding the key in your config file.
enabled: false under verify.blockscout.
4) Verify
blockscout runs verification against every configured provider (Etherscan, Blockscout, Sourcify); passing it explicitly scopes the run to Blockscout only.
Programmatic verification
verifyContract isn’t re-exported from the Hardhat toolboxes — install the plugin directly and import from @nomicfoundation/hardhat-verify/verify.Hardhat 2
1) Install Hardhat
If you are starting from scratch, create an npm project by going to an empty folder, runningnpm init, and following the instructions. Recommend npm 7 or higher.
Once your project is ready:
npm instructions
2) Create a project
Runnpx hardhat in your project folder and follow the instructions to create (more info here).
3) Install plugin
Install the hardhat-verify plugin npm@hh2 tag above — plain npm install @nomicfoundation/hardhat-verify now installs v3 (Hardhat 3), which uses a different config format entirely (see the Hardhat 3 section above).
4) Add plugin reference to config file
Add the following statement to yourhardhat.config.js.
hardhat.config.ts. More info on using typescript with hardhat available here.
Config File and Unsupported Networks
Your basic Hardhat config file (hardhat.config.js or hardhat.config.ts) will be set up to support the network you are working on. In this example we use the Optimism Sepolia test network and a .ts file.
Here we add an RPC url without an API key, however some value is still required. You can use any arbitrary string. More info.
In order to use Blockscout explorer for the verification, you have to specify the explorer details under a customChains object. It includes:
chainId- Network chain IDapiURL- Block explorer API URLbrowserURL- Block explorer URL
Find an extensive list of ChainIDs at https://chainlist.org/.
customChains must match the network name in the apiKey object.
Verifying on multiple chains
If you deploy to more than one network, you don’t need a separate config block per chain. Define your chains once in an array and generatenetworks, etherscan.apiKey, and customChains from it:
Run
npx hardhat verify --list-networks at any time to confirm which network identifiers are registered in your config.Deploy and Verify
For deployment we will use Hardhat Ignition - built-in Hardhat deployment system.Deploy
Verify
The plugin requires you to include constructor arguments with the verify task and ensures that they correspond to expected ABI signature. However, Blockscout ignores those arguments, so you may specify any values that correspond to the ABI.CHAINS array — just swap --network optimism-sepolia for --network base, --network arbitrum-one, etc.
Automatically verified contracts
Sometimes the contract may be automatically verified via Ethereum Bytecode Database service. In that case you may see the following response:--force flag*.
It prevents Hardhat from checking if the contract is already verified, and forces it to send a verification request anyway. Notice, that it is helpful only if the contract was automatically verified partially. That way, new verification sources would be saved. If the contract was fully verified already, that just returns an error.
- The flag is available starting from
@nomicfoundation/hardhat-verify@2.0.7
Confirm Verification on BlockScout
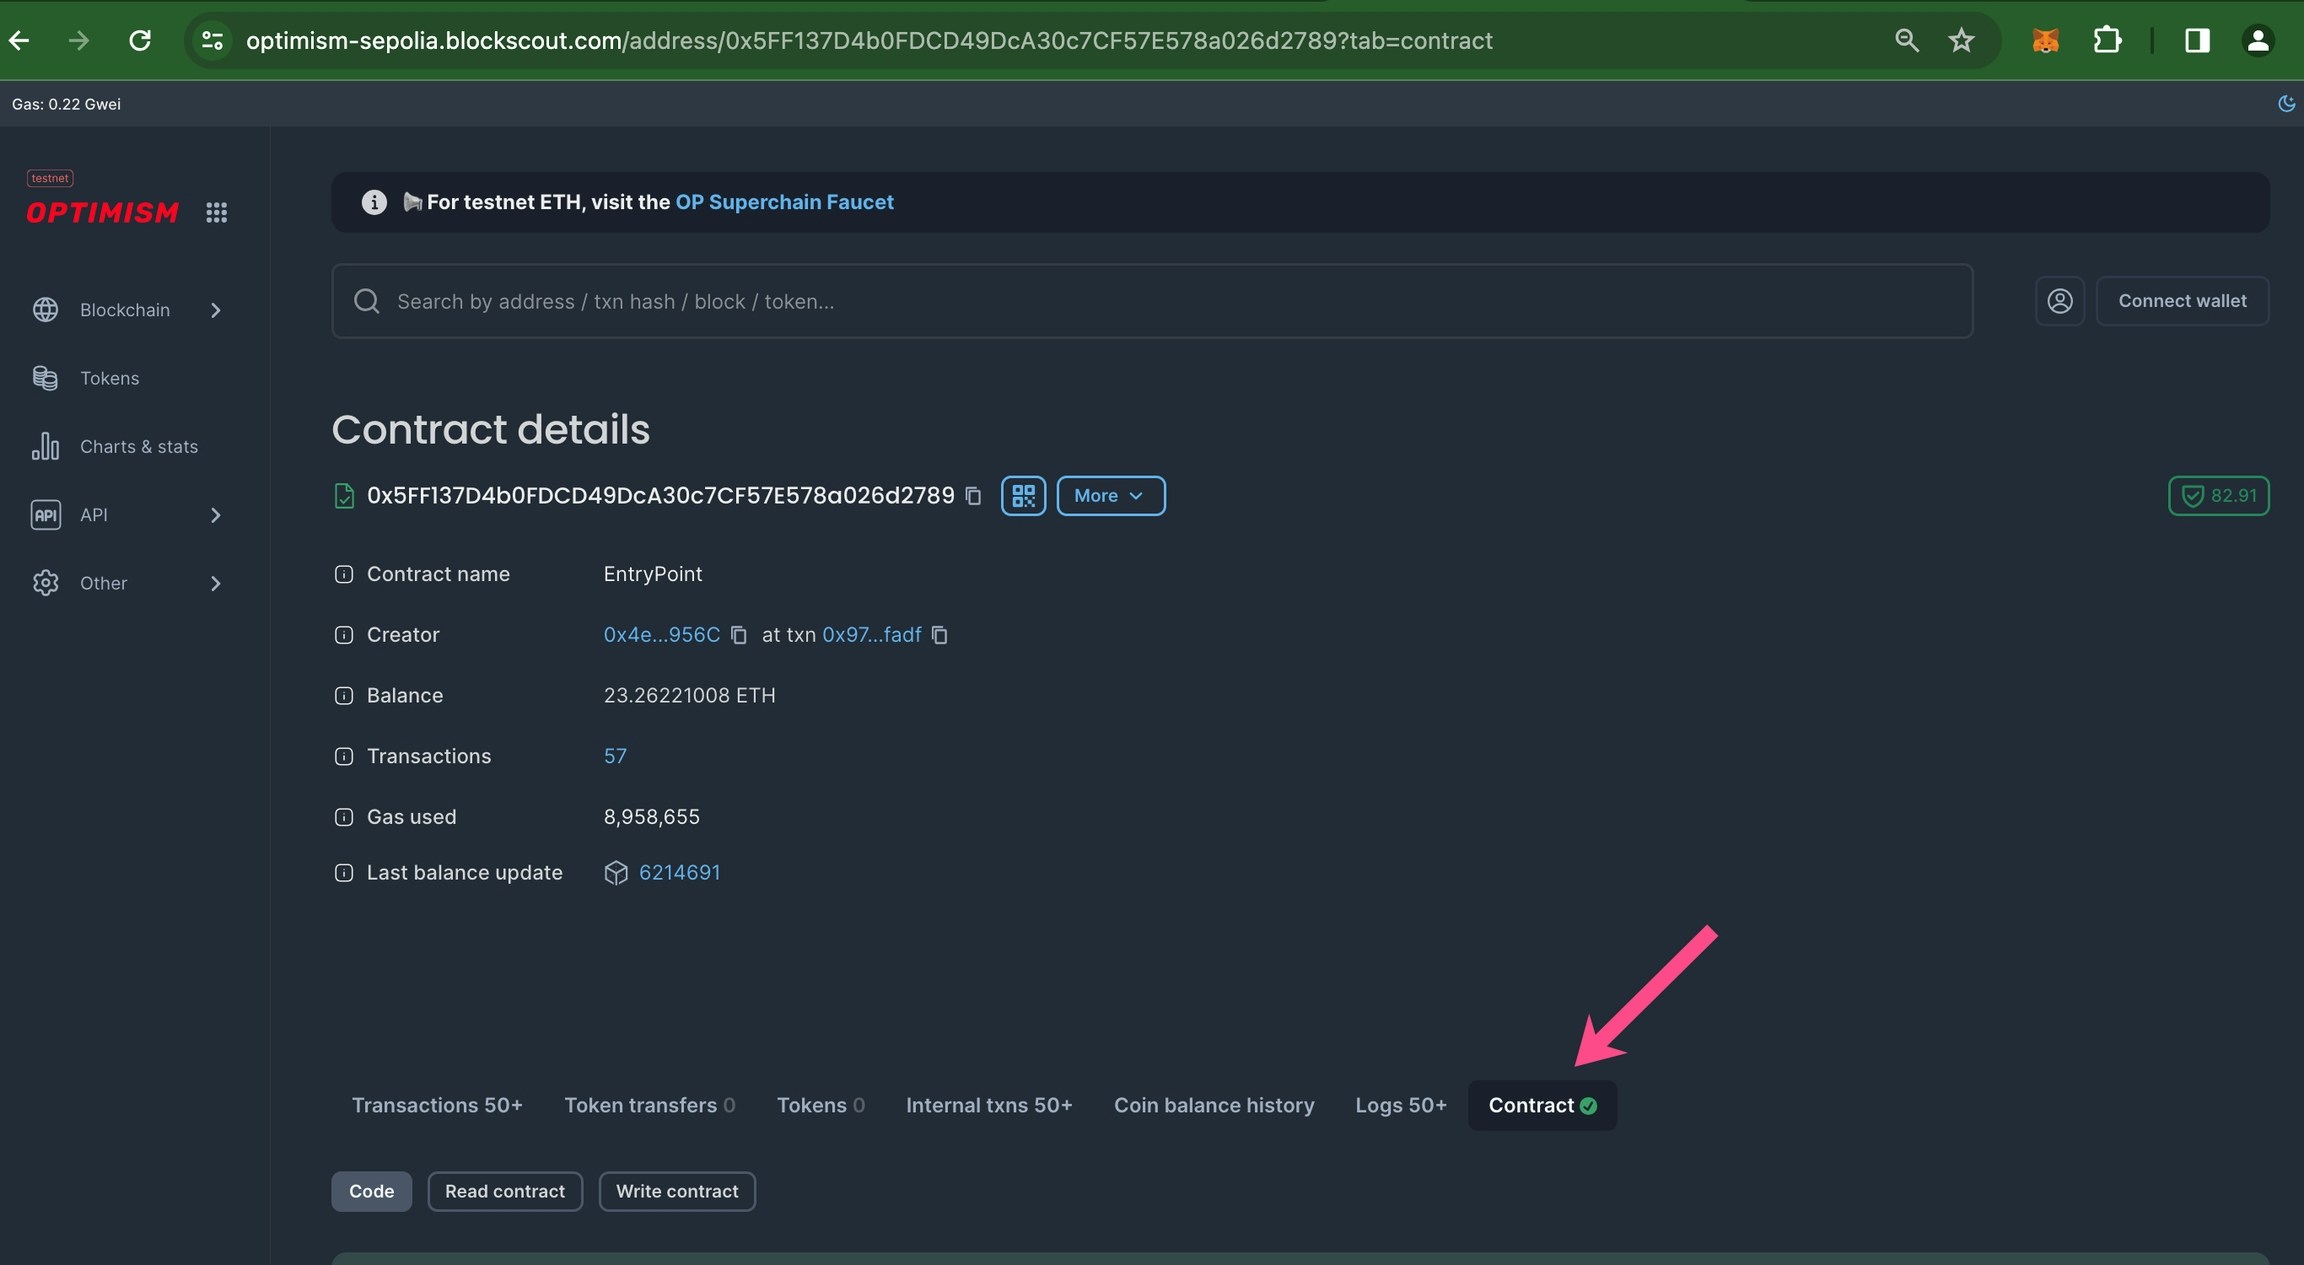
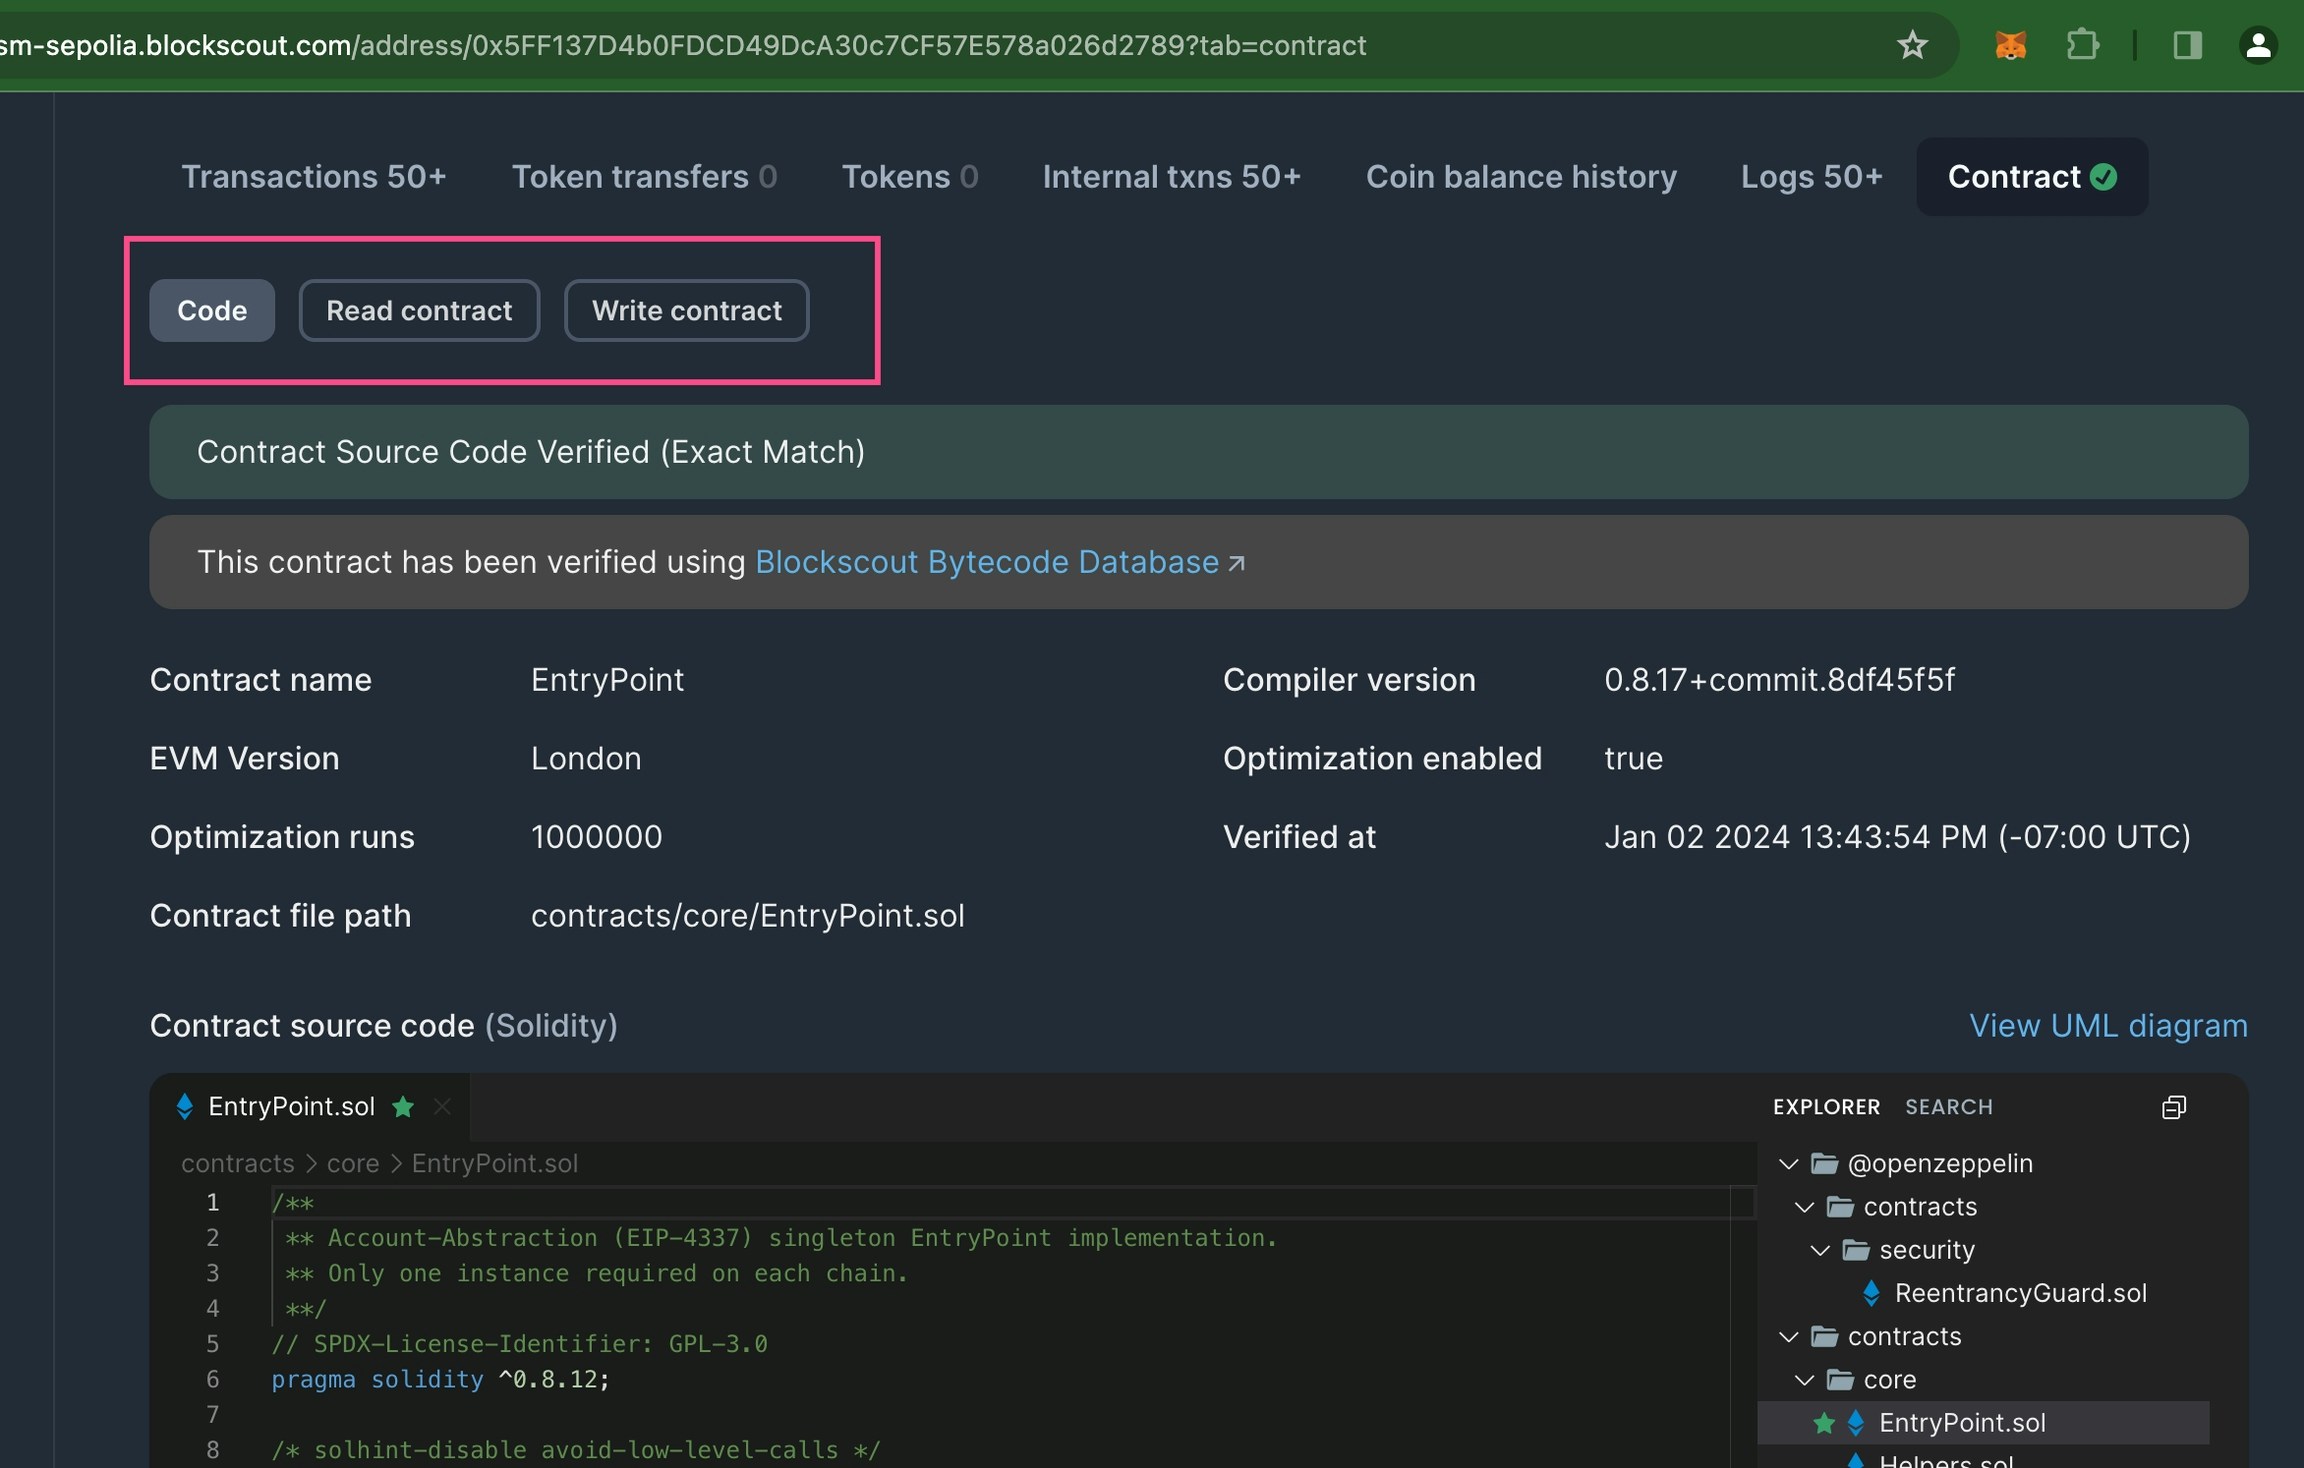
Go to your BlockScout instance and paste the contract address into the search bar.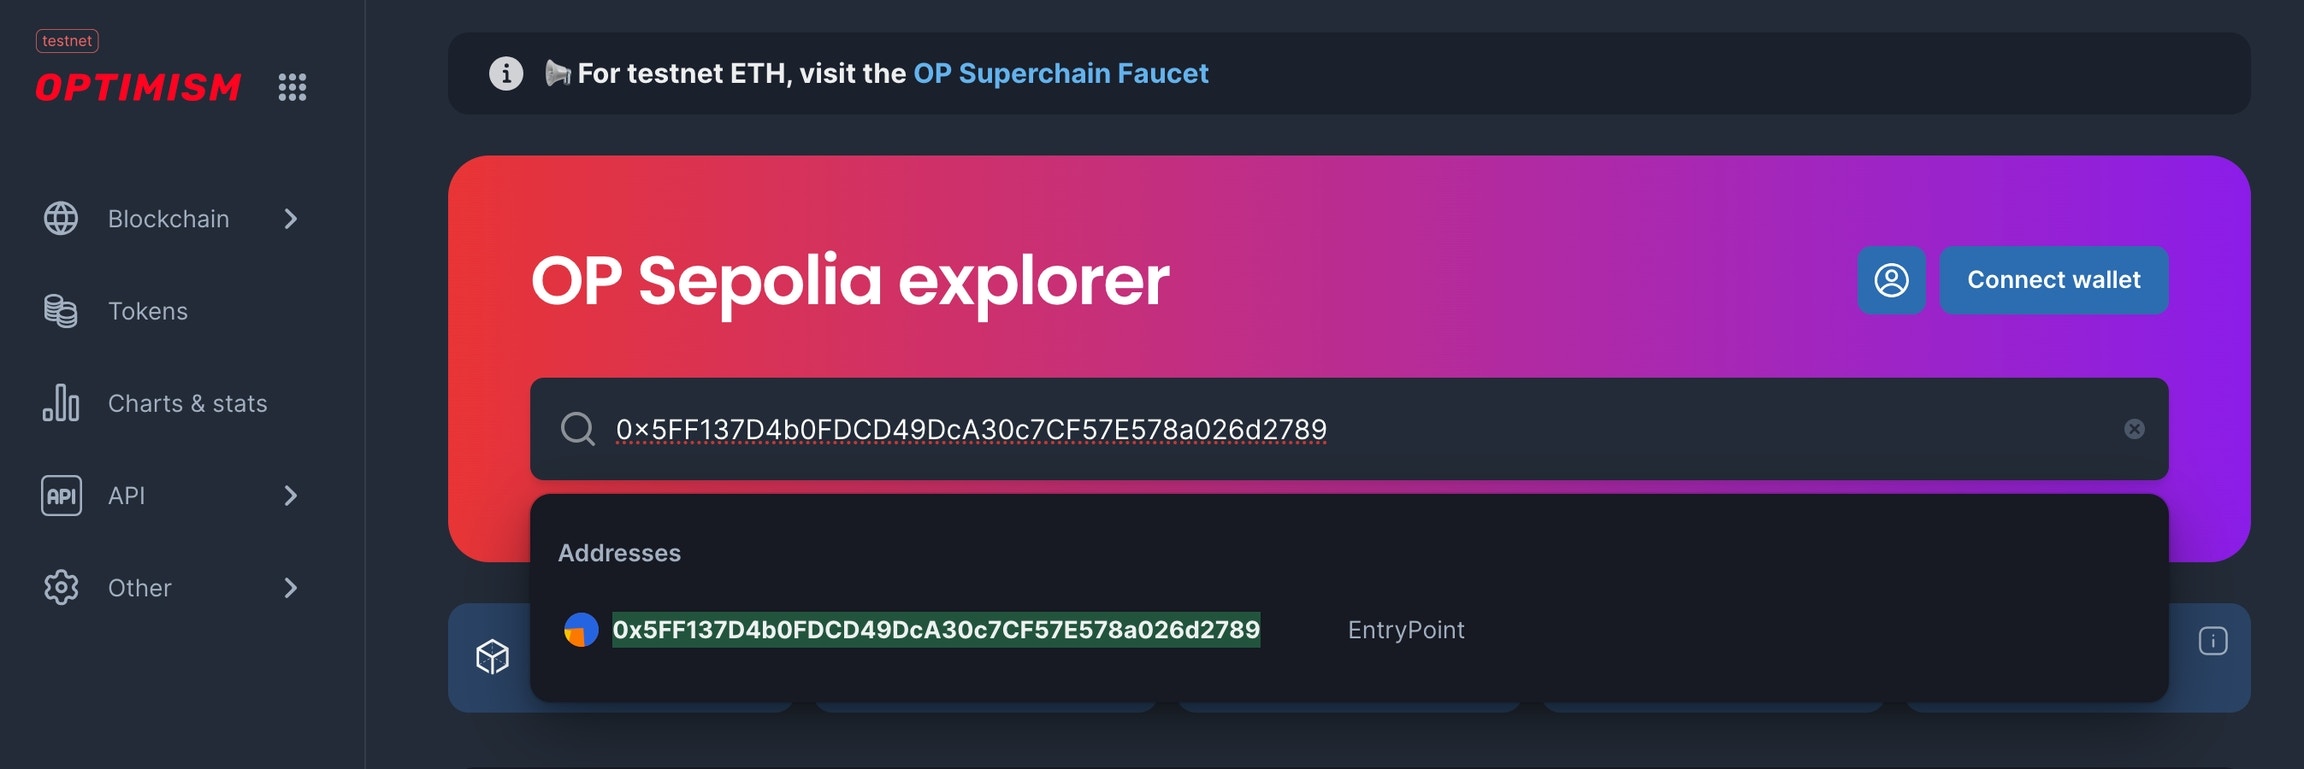

Video example
Community video created by Carlos Rodriguez for the Soneium Minato testnet, but can be applicable to any chain.FAQ
I am using an OpenZeppelin upgrades plugin implementation and receive an error on proxy contract verification. What should I do?
I am using an OpenZeppelin upgrades plugin implementation and receive an error on proxy contract verification. What should I do?
Although you receive an error, the contracts should be verified during the previous steps and you can ignore. Check in the explorer to make sure the contracts have been verified.
Do I need a Pro API key for each chain?
Do I need a Pro API key for each chain?
Yes, but one Pro API key covers every hosted chain. On Hardhat 2, each network still needs its own entry in the
apiKey object (the network name in customChains must match a key in apiKey), but the value should be the same real key repeated for every network.Can I use the Pro API with hardhat-verify?
Can I use the Pro API with hardhat-verify?
Yes, on both. Hardhat 3’s
hardhat-verify@3.1.0+ has a native shortcut — pass your key via verify.blockscout.apiKey and the plugin handles routing for you. Hardhat 2 (@hh2) has no such shortcut, but reaches the same Pro API by configuring customChains manually. Point apiURL at https://api.blockscout.com/CHAIN_ID/api (replacing CHAIN_ID with the target chain’s numeric ID) and set a real key under etherscan.apiKey, as shown above.Do self-hosted or Autoscout instances need a Pro API key?
Do self-hosted or Autoscout instances need a Pro API key?
No. A self-hosted Blockscout instance, or one you’ve spun up with Autoscout, runs its own singular API and isn’t part of the Pro API network — no key required. Point
apiURL at that instance’s own address (e.g. https://your-instance.example/api) instead of api.blockscout.com.Resources
Learn more about plugin configs, troubleshooting etc. at https://hardhat.org/hardhat-runner/plugins/nomicfoundation-hardhat-verify (Hardhat 2) or https://hardhat.org/docs/plugins/hardhat-verify (Hardhat 3).